Snow White |
|
|---|---|
 |
|
| Points | 190 |
| Obtained | Hoarfrost Reach |
Snow White is an Account Item in Monster Hunter World (MHW). These items do not appear in your Item Pouch and are instead used for Resource Points.
Rare vegetable from the Hoarfrost Reach. This shoot was protected by the pure white snow.
How to get Snow White
This item can be obtained by finding the unique gathering point spawning only during "Flourishing: Butterbur" in the Hoarfrost Reach. Gathering it for the first time will unlock the Entrancing Alembic ingredient at the Canteen.
Start at the Shipwreck Camp and make your way to the northeast of area 13. Latch yourself on the wedge beetles and swing forward.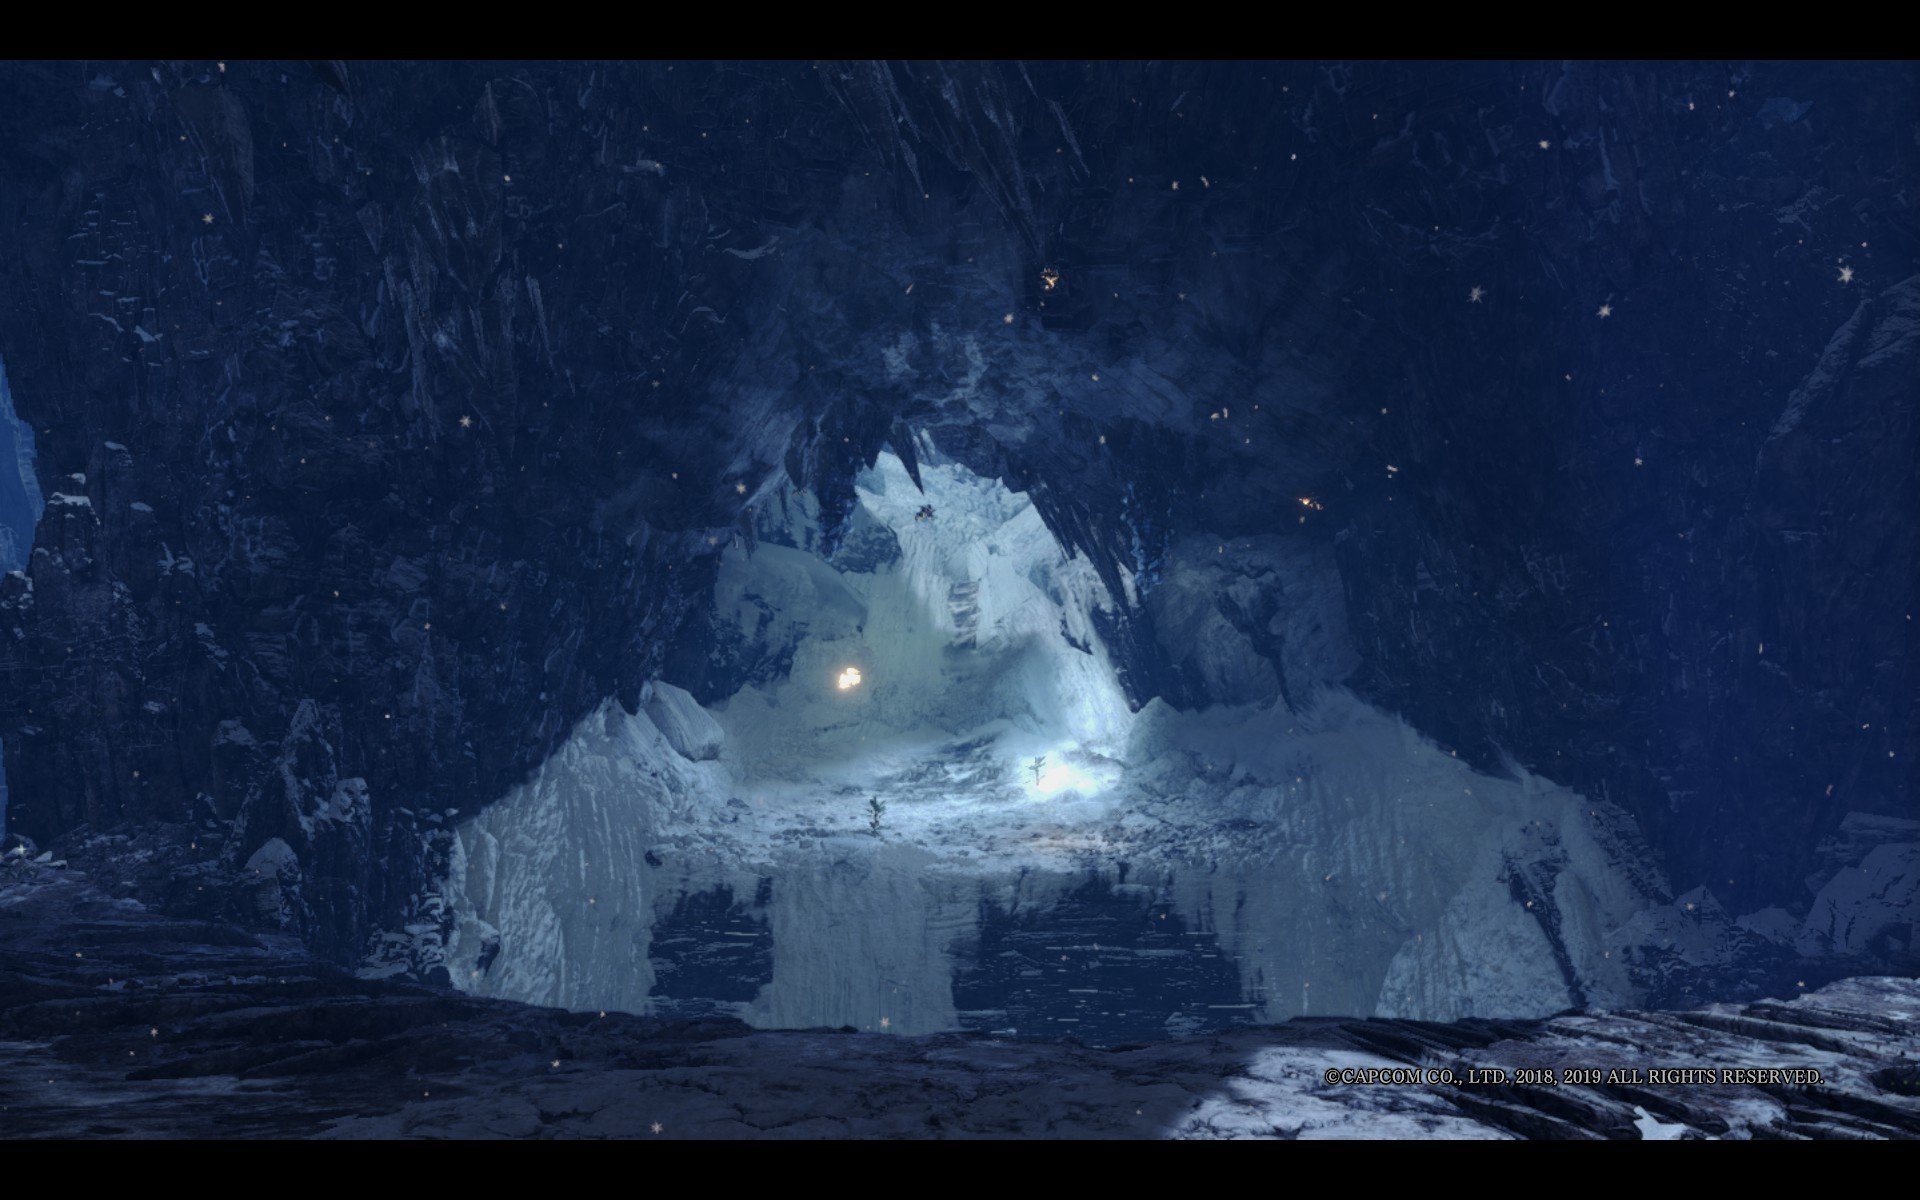
Once on the furthest beetle, turn your camera around and look straight up to latch to the highest beetle. This should put you on another snowy ledge.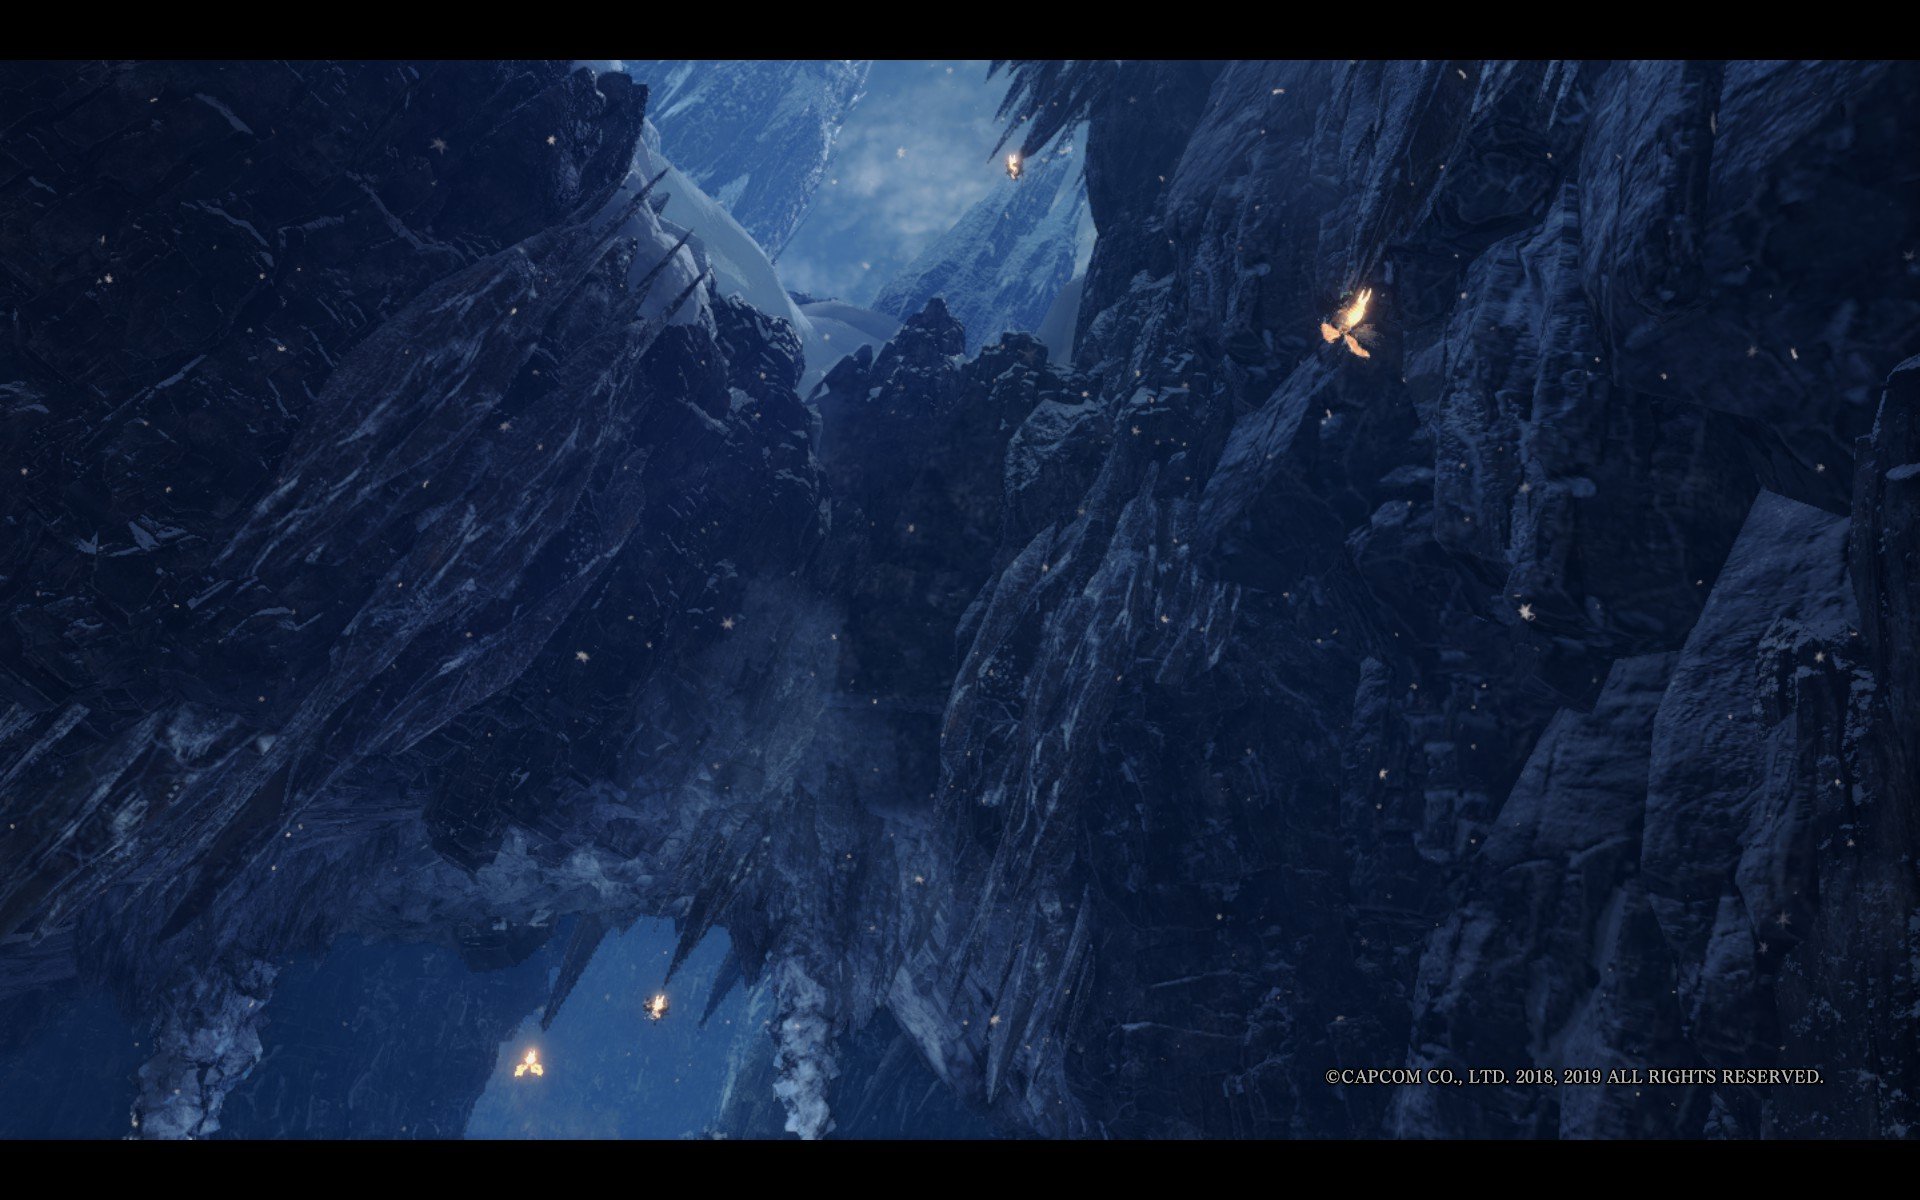
Head towards the left-hand side, descending a small ledge. Looking left, there will be two special walls and a climbable wall. Run up to the left wall, wall jump onto the right wall, and wall jump again into the icy climbable wall. This may take a few tries.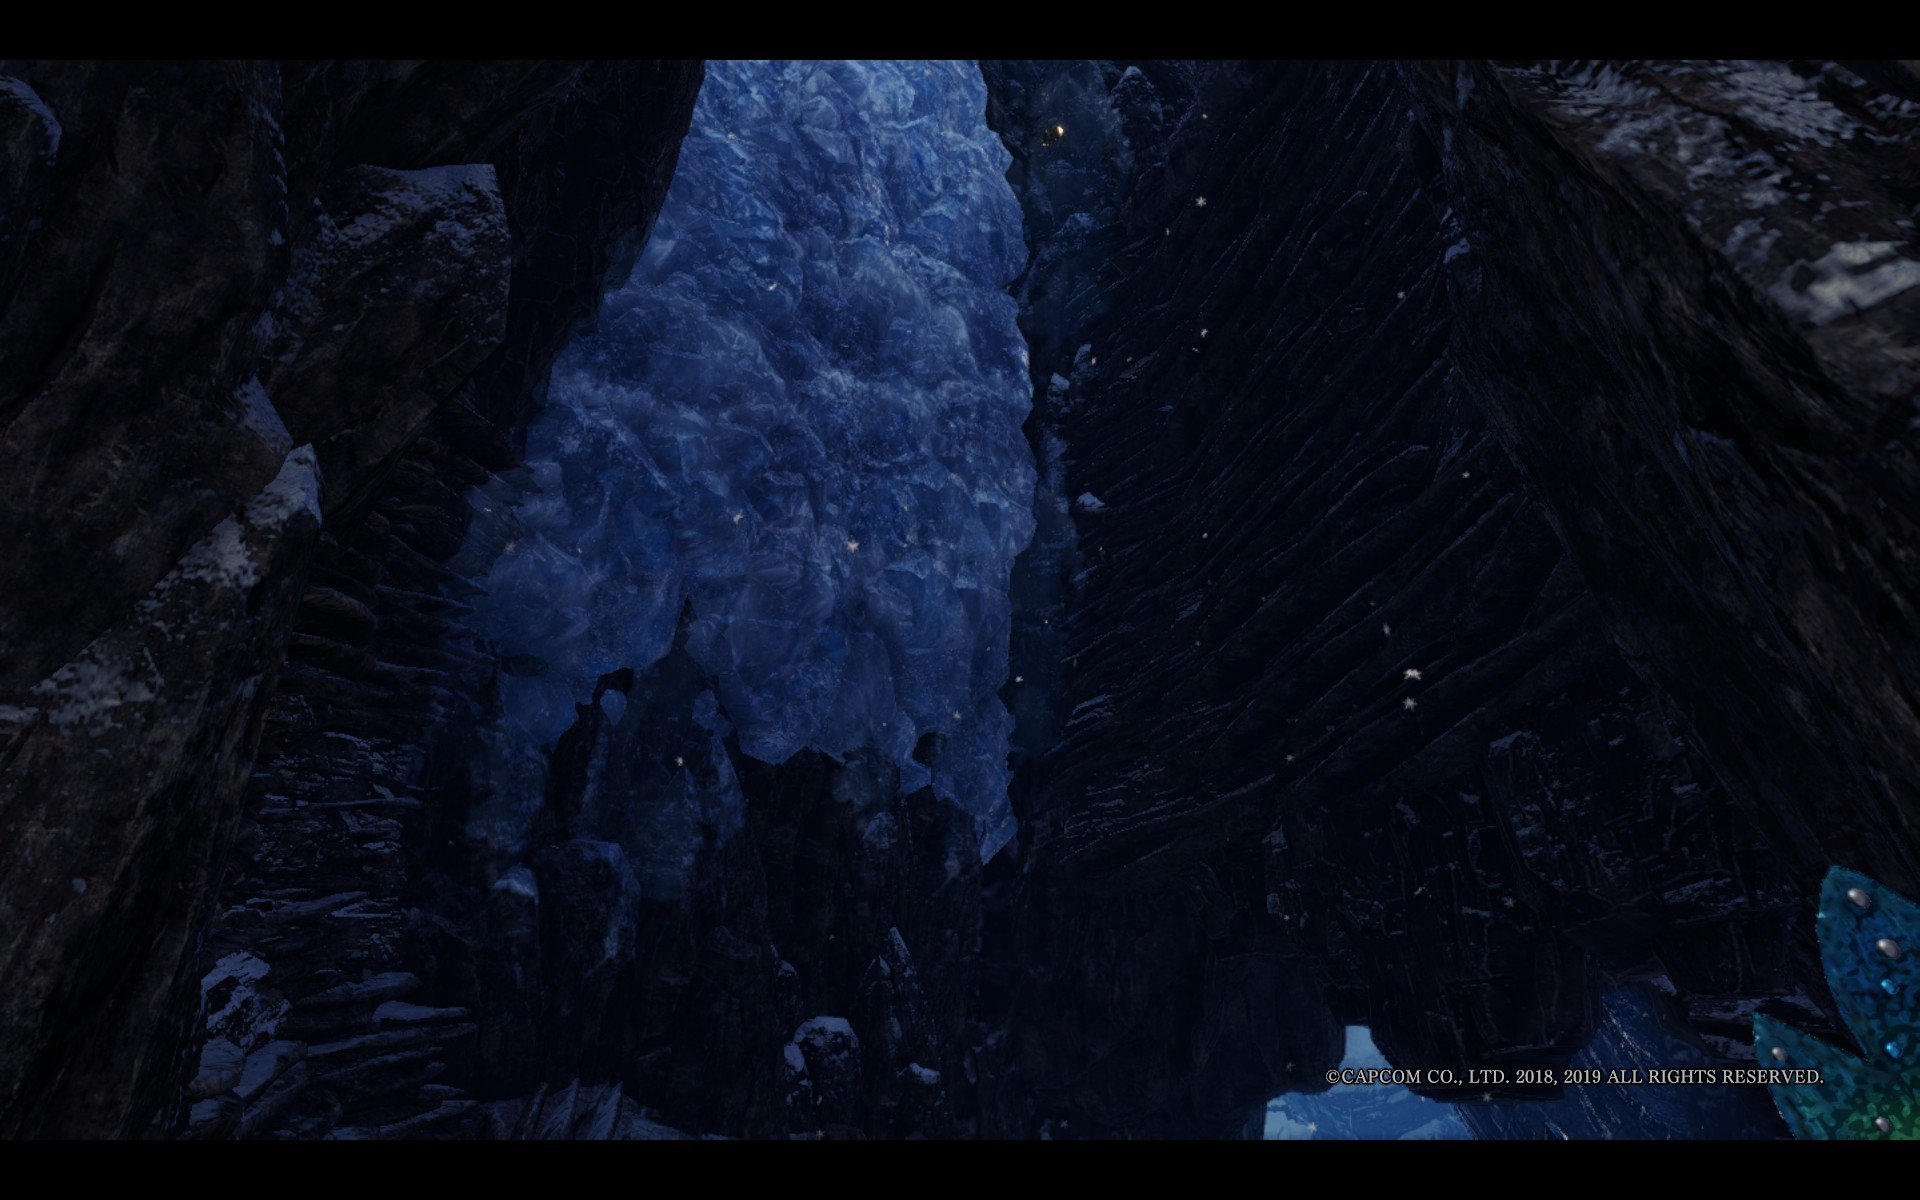
Jump off the climbable wall to the platform to the right. Here, you can simply wall jump off the perpendicular special walls to get up to another ledge.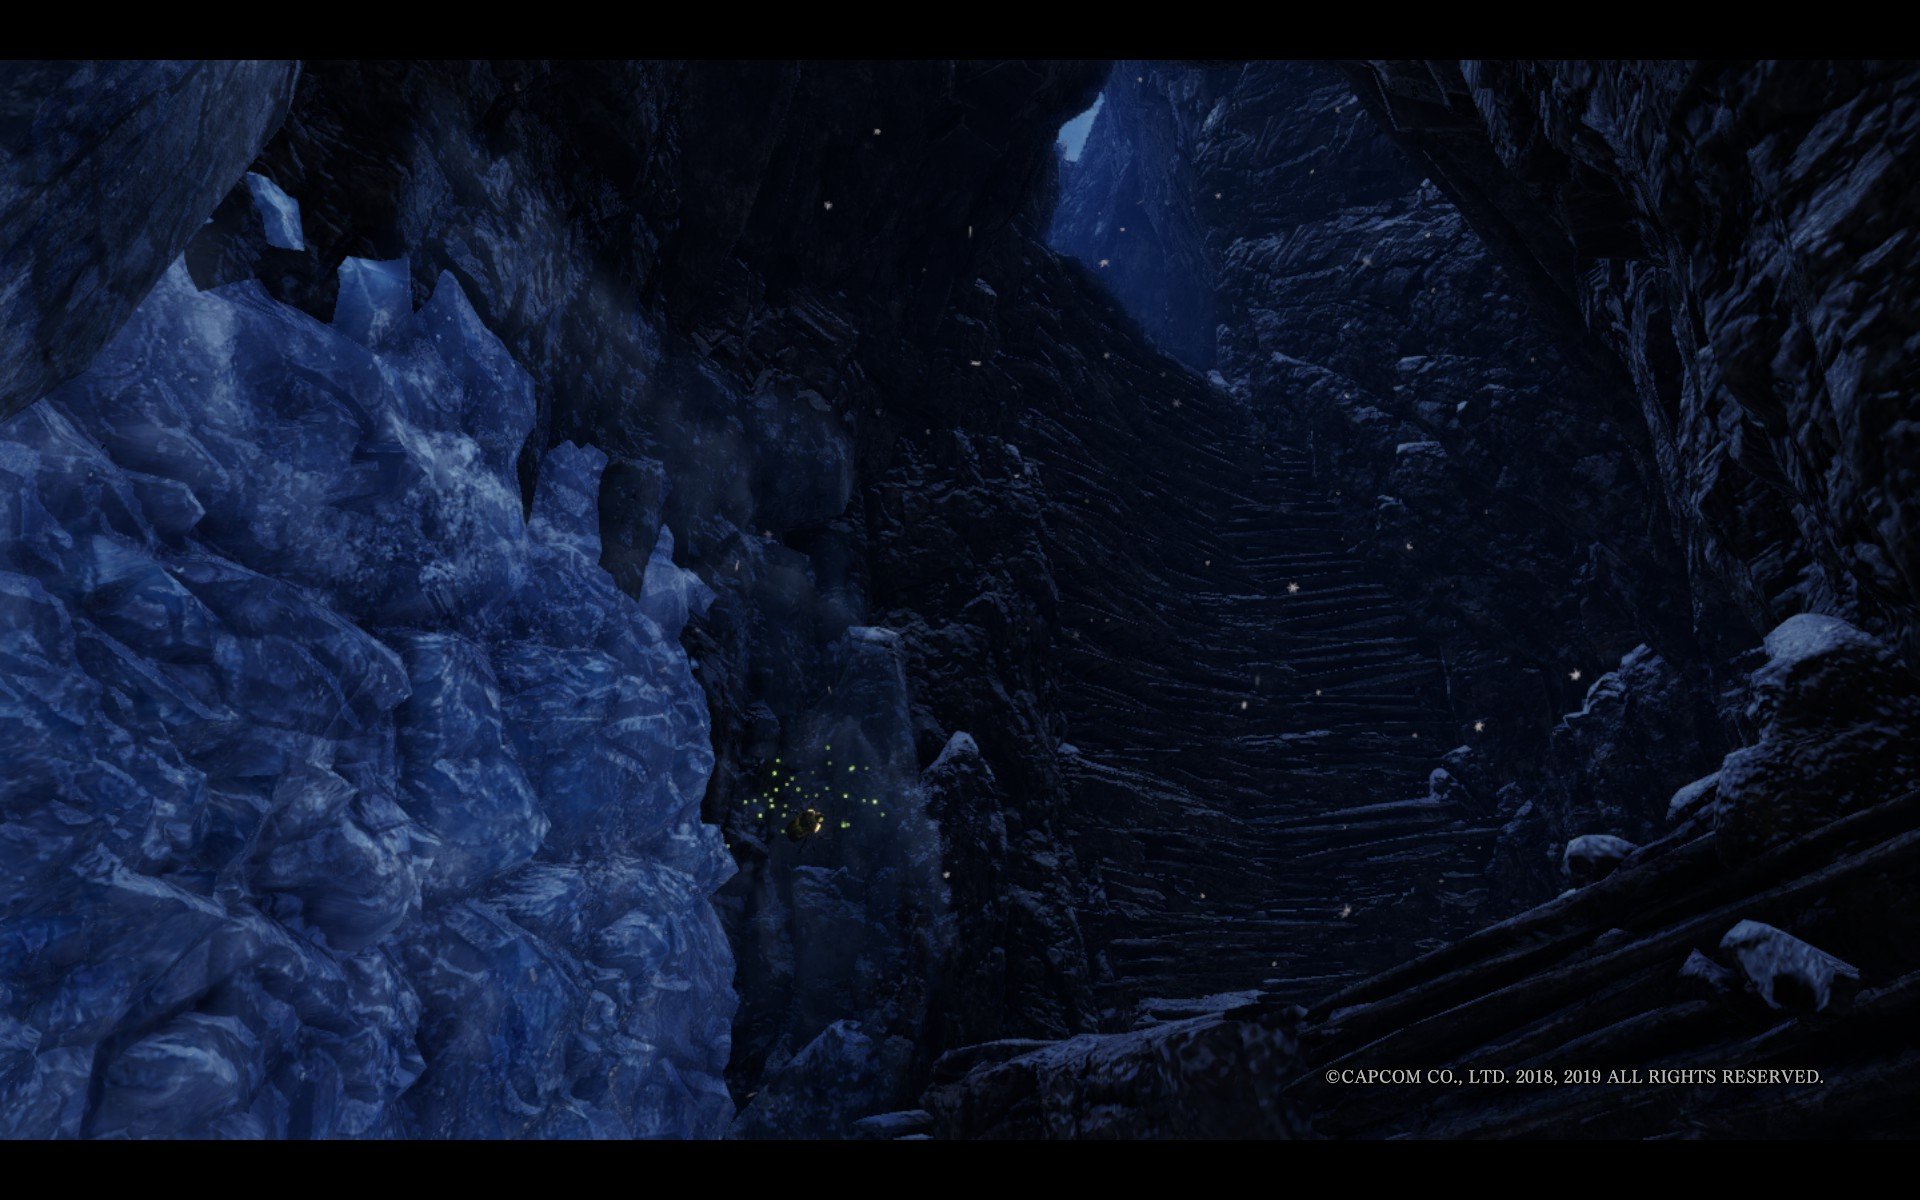
Swing across the gap using the wedge beetle.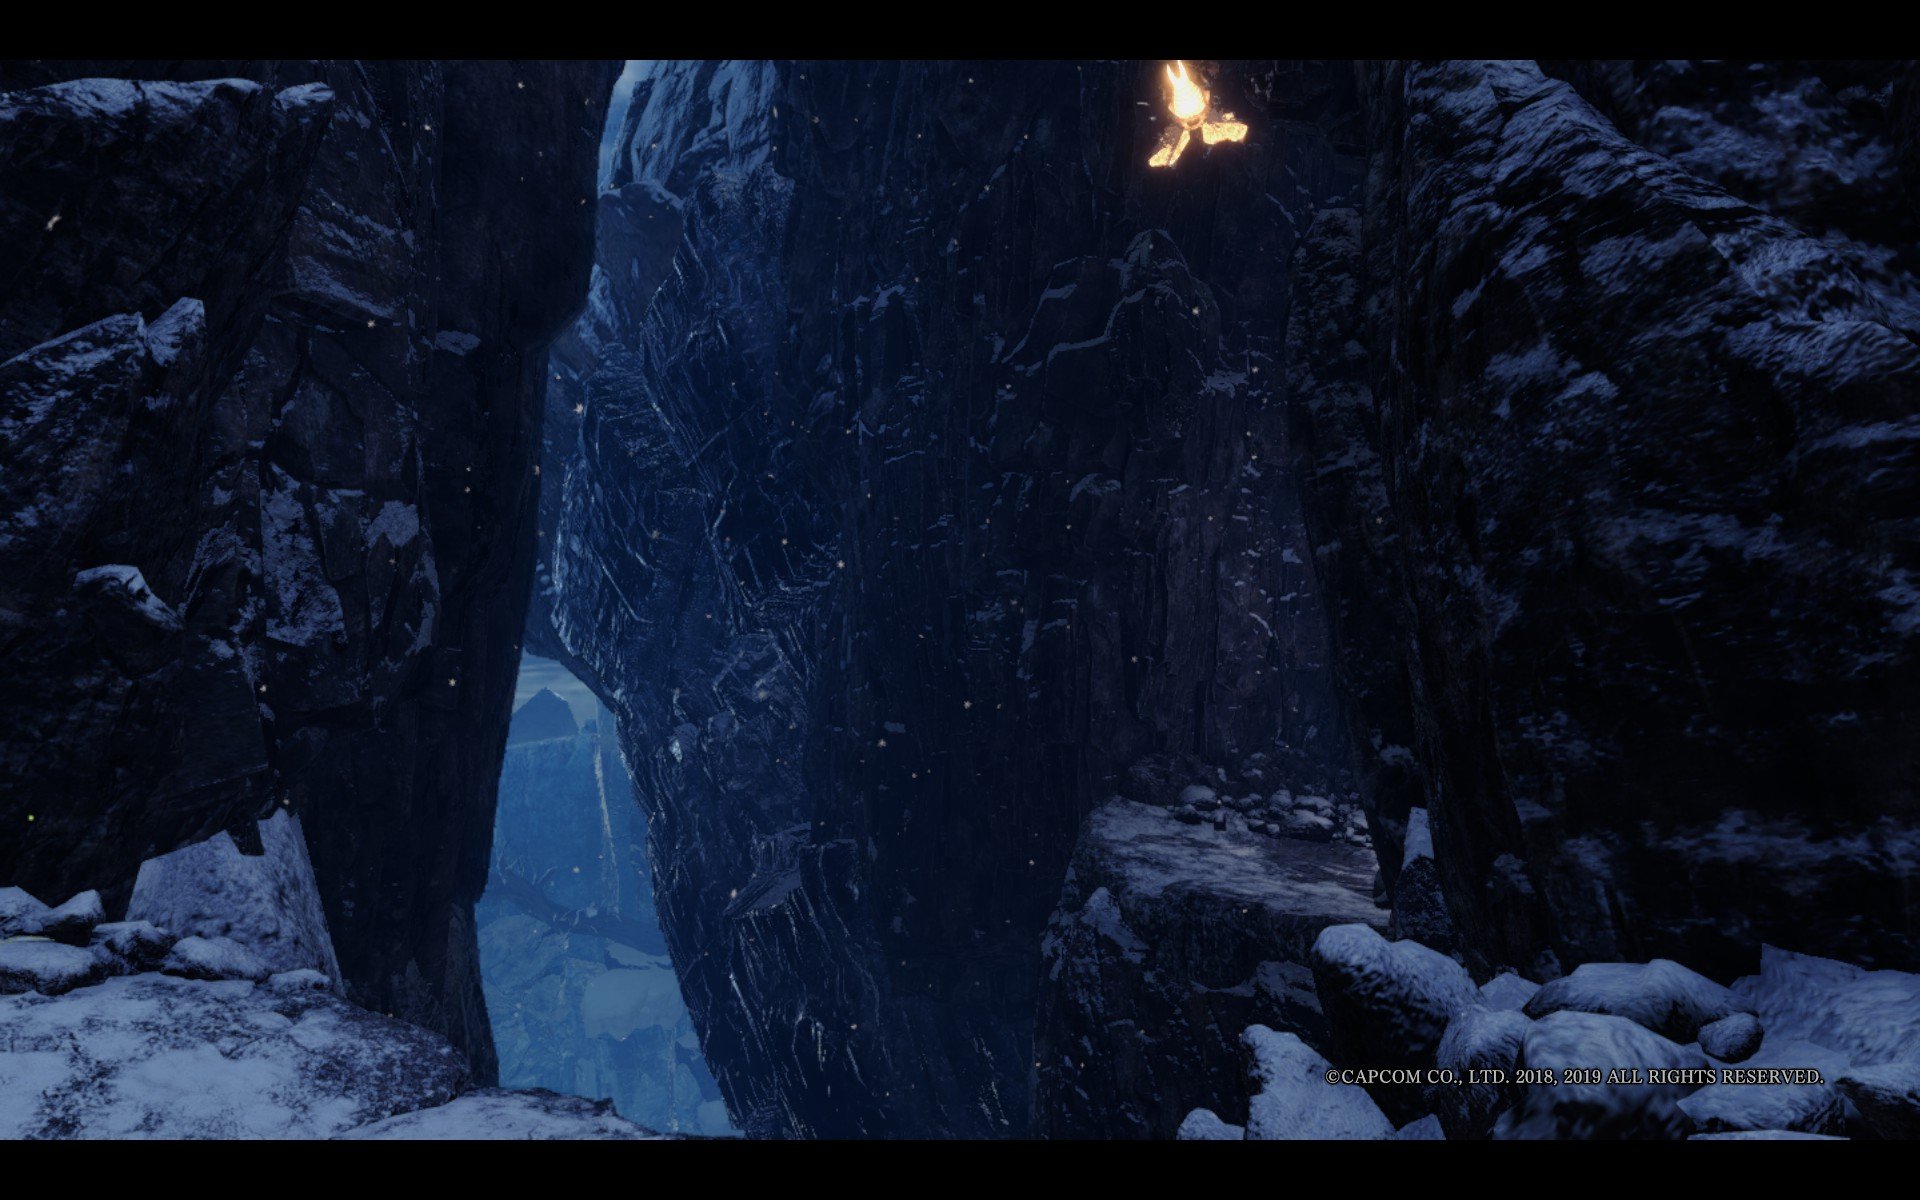
Launch yourself to the left onto the ledge with the honey using an air geyser. 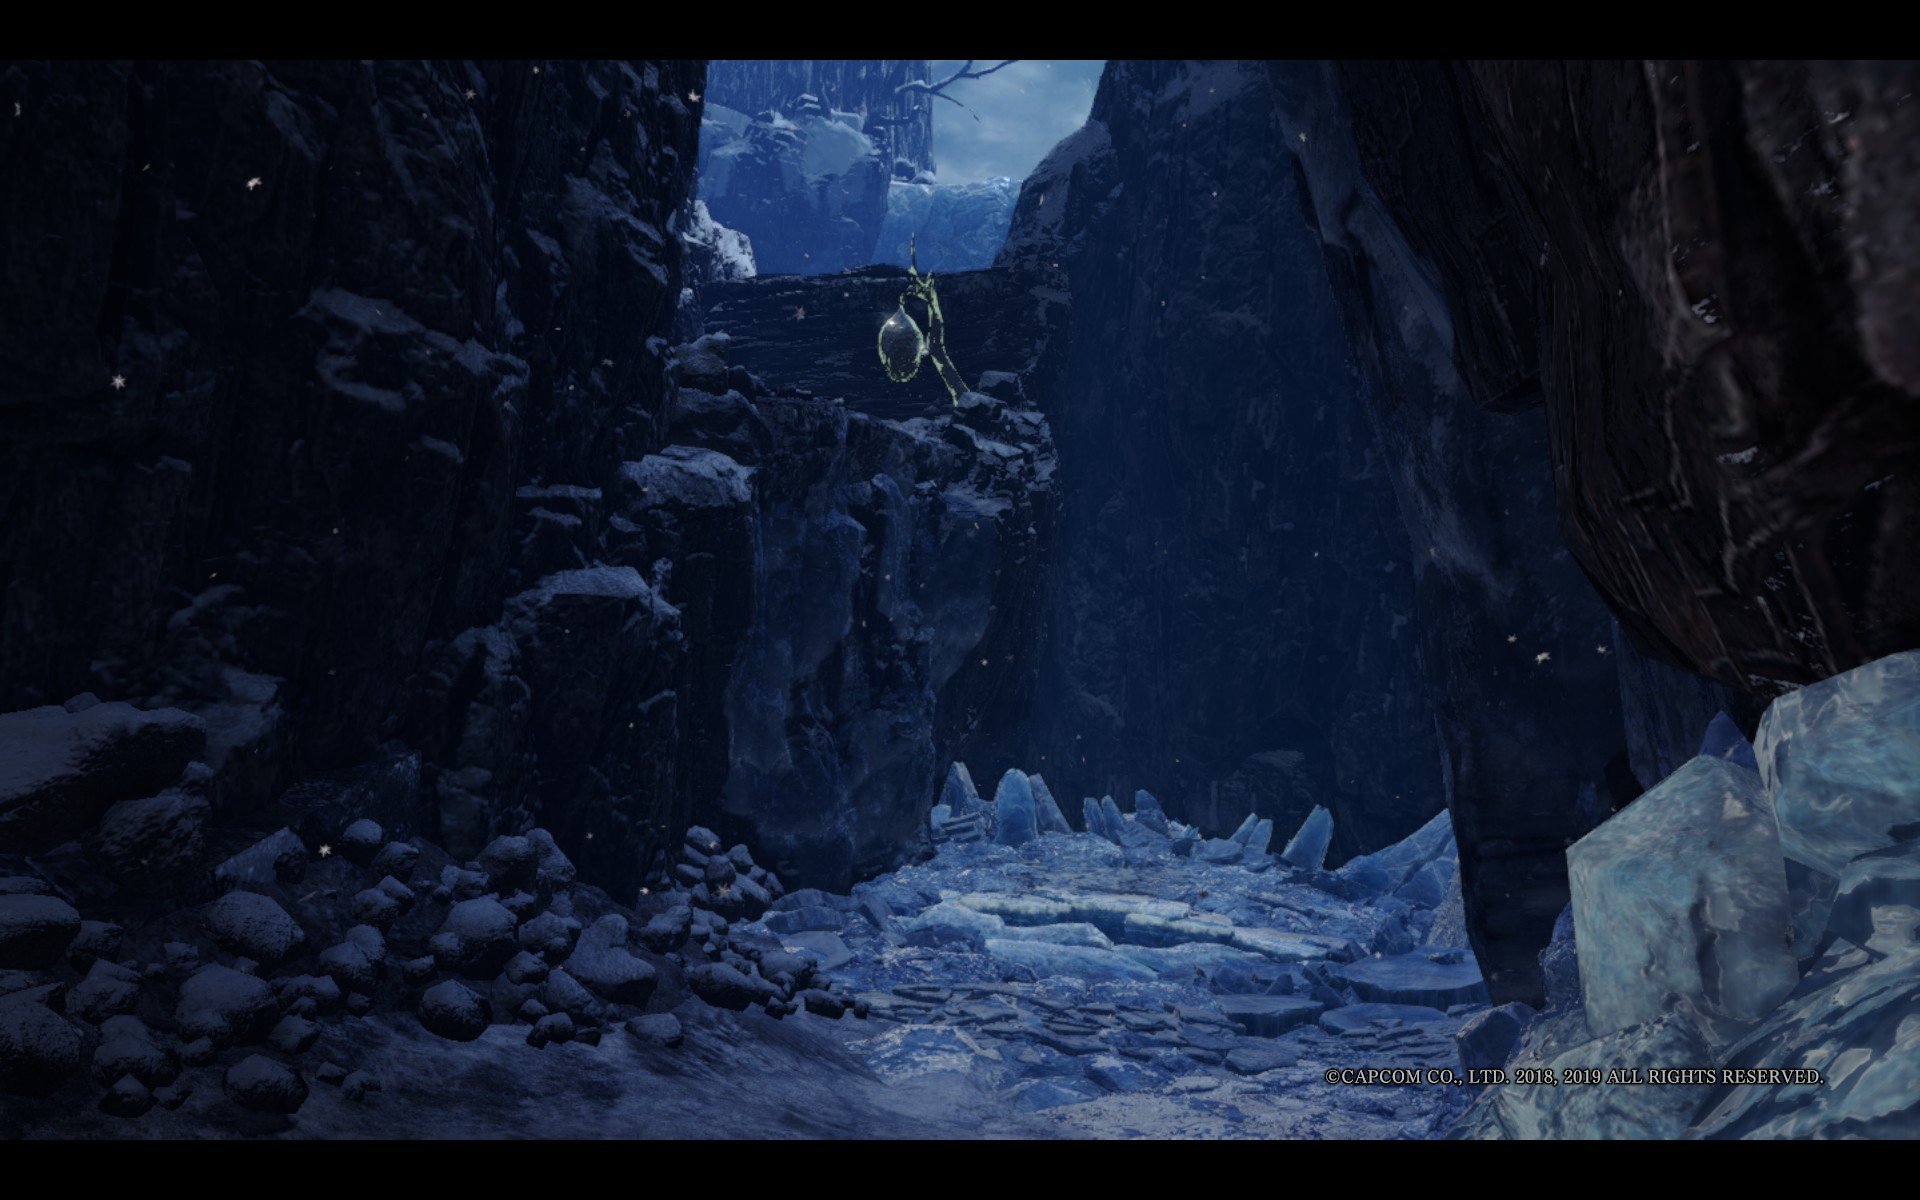
After you climb up the next ledge, the butterbur patch will be around the corner.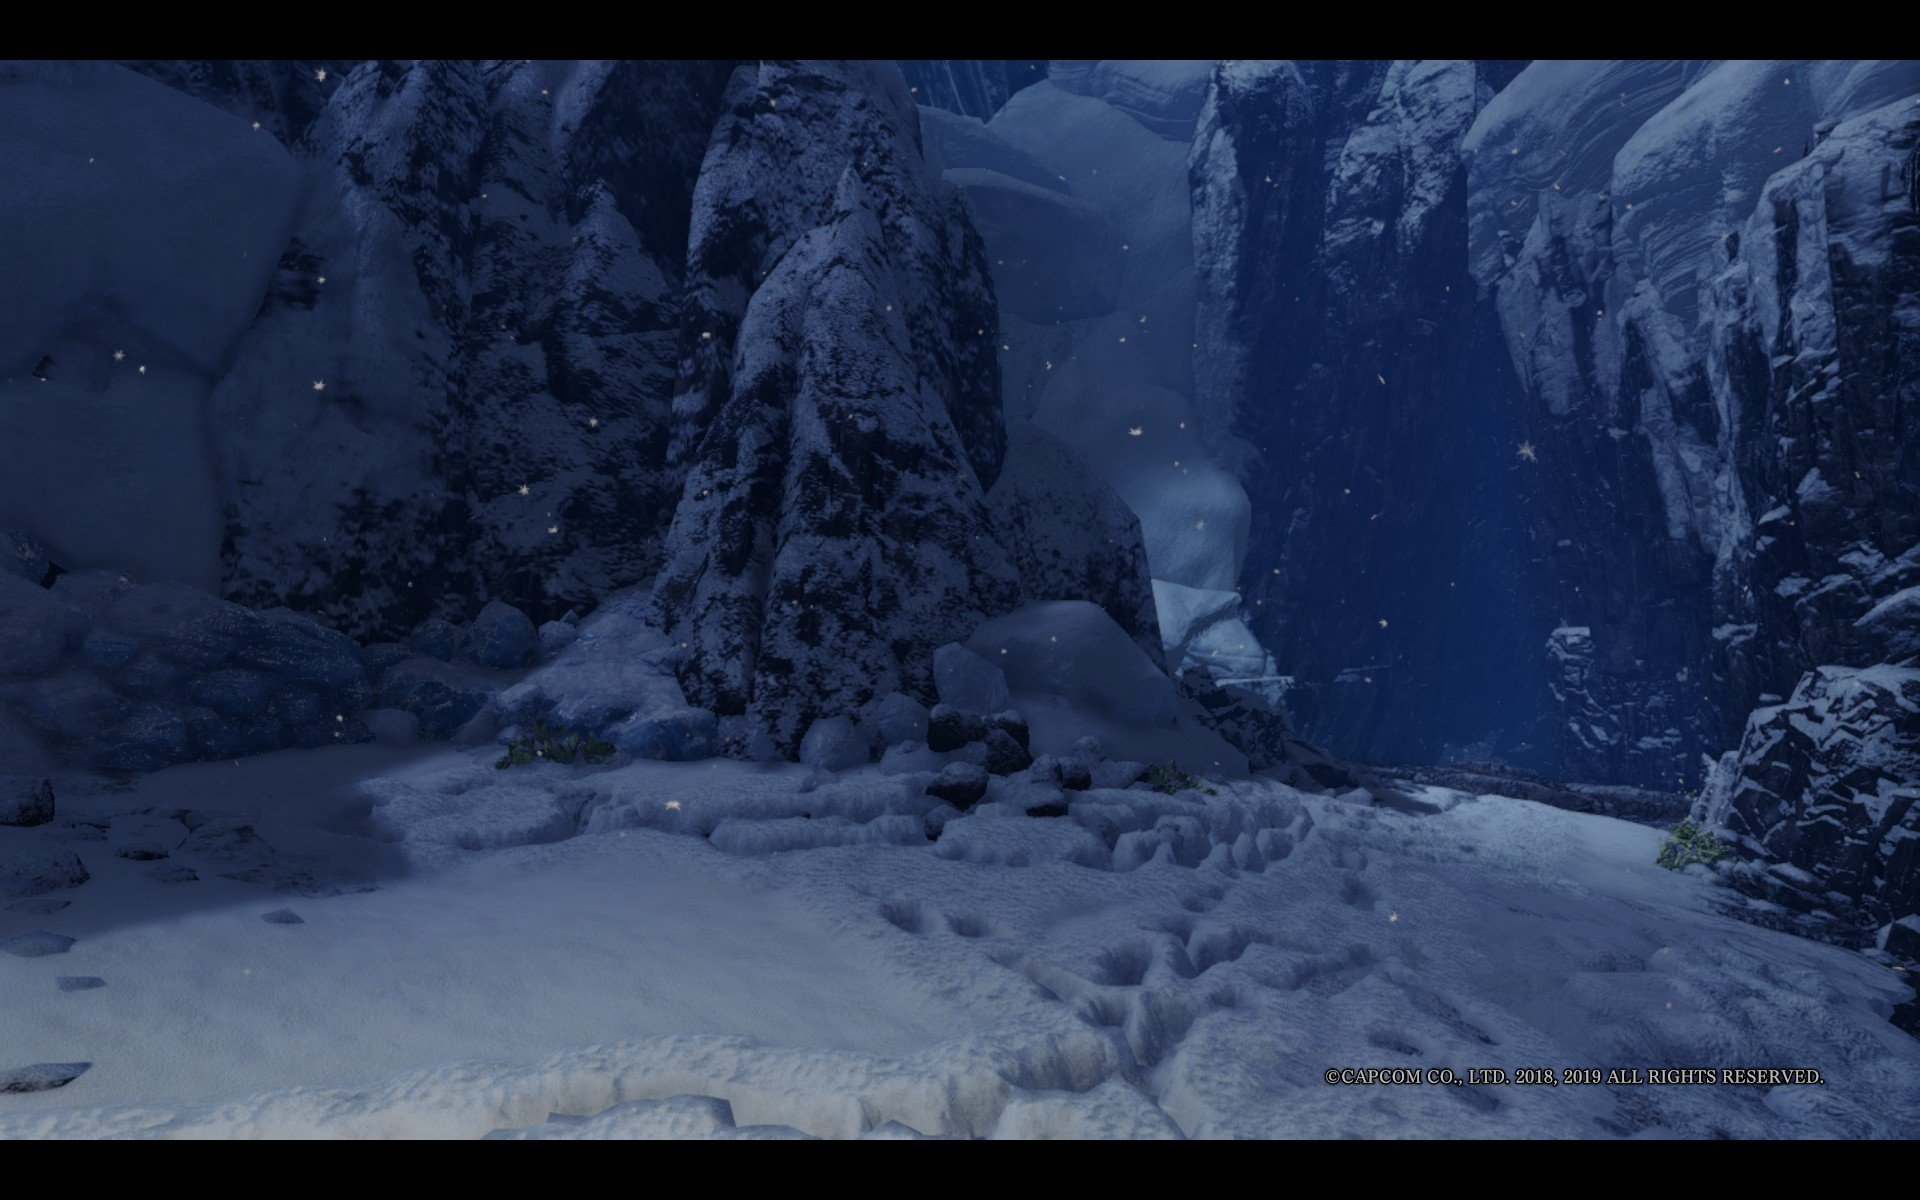
 Anonymous
You might save time by sorting investigations by "Flourishing: Butterbur"

 Anonymous
 Anonymous
Not to be condescending, but I got this on my first try. The description on the wiki is actually decent now, if a bit lacking.
Precursors:
- You can only grab this item during Flourishing: Butterburs. Otherwise, you will go through all this trouble for naught.
- I recommend bringing an Insect Glaive; this makes the parkour completely redundant on the wall-jumps. However, it is easily doable without IG, just a lot more finnicky.
- DO NOT BRING A GLIDER MANTLE. This is a massive trap and will cause you ridiculous amounts of frustration.
- I HIGHLY recommend Dung Pods just in case a Rajang decides to make your face his favorite new seat while you're trying to navigate.
- ALL DIRECTIONS ARE BASED ON TRUE NORTH FACING, USING THE MAP AS A REFERENCE. Keep this in mind.
- Bringing a Hot Drink is recommended, or grabbing the Hot Peppers right outside of the camp on your way to the intersection. This prevents your stamina from dropping due to cold weather, which is useful if you want to do the Insect Glaive method; it requires a bit of stamina.
Directions:
1) The initial description is correct. Begin in the Shipwreck Camp. If you haven't already, use this chance to grab your Insect Glaive. There are three corridors out of this place: one straight north that leads to a dead end, one to the north-east, and one leading south-east. The north-east passage should be covered in vines, with a Wedge Beetle acting as a shortcut leading up. Take that passage and leave through the crawlspace entrance.
2) You should now be in Area 13 by this point, on the southern edge of it. There will be a fork here: a northern passage that leads deeper into Area 13, and a south-eastern one that leads out of the area. Take the northern passage; you should now be in a hot spring.
3) Once you get to Area 13, there's going to be a three-way fork in the road; left, center, and right. Right leads out of the area, so we don't go that way. Left and center go the same way, but center is more direct. Go center unless a monster is wandering into the area that way, then bear left instead.
4) You should now be in a giant cavern, faced with a large icy ledge to the north. Look above you at the ceiling to find the Wedge Beetles; grapple one, and begin jumping from Beetle to Beetle towards that icy ledge. If you wanna get your bearings or can't find the next Wedge Beetle, land on the ledge and begin looking above you, towards the western wall; there should be one that's higher than the others, and another even higher than that. Grapple to the Beetle that's higher than the ones leading to it, then take just a moment to look for the Wedge Beetle above it. Jump off of your current Beetle back towards the cavern, and with your Clutch Claw aiming straight above you, grapple onto that Beetle and launch yourself forward over the snowy barrier; if you did this correctly, you will faceplant in the snow for a second (or just roll and be able to move immediately) and be on a ledge with Chillshrooms and Mandragoras (sometimes there will also be a Palico up here).
5) Follow this shelf and climb down the icy ledge where you should find some more mushrooms, and a little cavern mouth that leads to a small shelf. In front of you as you enter, you'll see an opening that lets you drop back down into the cavern (DO NOT USE THIS), a mining node to the right of that opening, and to your left, two parkour-able walls.
6) Now it's time for parkour. If you have an Insect Glaive, face your character at the wall that you can run up and your camera towards the wall on the opposite side. Press R2/RT to draw your weapon, then use R2 + X / RT + A to launch yourself into the air, press your left joystick forwards, and use Midair Evade (X or A) to throw yourself at the wall. THIS WALL IS VERY FINNICKY; aim for the CENTER of the wall, and try to do your Evade at the highest point of your vault. If you did this correctly, you should stick your Insect Glaive into the wall and now be clinging to the wall. Climb up the wall and you will be faced with two more parkour-able walls; this is where IG and non-IG methods meet.
6.5) If you do NOT have an IG, this is going to be a lot more annoying, but it's still doable. We set up our character the same way, but instead of facing the camera towards the opposite wall, look to the climbable ice to your left instead; face your camera towards that until it seems like a three-sided box (the first wall to your left, the ice in front of you, and the other wall to your right). Hold down R1/RB and push your joystick to the left, and dash all the way up the wall until your character autojumps. Hold your joystick to the right now and cling to the opposite wall for a very brief moment, then push it forward to jump towards the icy wall; if you did all of this correctly, you will auto-jump from the first wall, stop on the second wall for a split second, then immediately jump to the icy wall and cling to it. Climb up this wall until you're at the top of it, push your joystick to the right, and hit O / B to throw yourself onto the ledge. You're now at the same point as the people doing the IG method.
7) Face your character and camera towards the wall on the left, then dash up it and auto-jump again towards the wall behind you, and push your joystick forward again to throw yourself onto the new ledge, where you'll see an Adamant Seed and a chasm that drops you back into the cavern (DO NOT FALL HERE). DO NOT ATTEMPT TO JUMP IT; there is a Wedge Beetle just a bit above you, right outside your camera's vision if it's level with the ground. Clutch Claw onto the Beetle and jump onto the ANOTHER ledge; don't worry, we're near the end.
8) You will see an air vent at the end of the ledge. Stand at the right-most edge of the crack (this is safe from the geyser bursts), facing your character towards the wall and your camera towards the opposite wall. Wait for a large gust of wind to appear (you'll know it when you see it) and dash forwards; if you do this correctly, you will land on the shelf with a small amount of room to spare (your character will probably stumble as they have to reaffirm their footing).
9) Dash up the parkour-able wall here (don't worry, no more wall-jumping required) and gather the two Butterbur Patches here; they're not the right ones, but they're still good to grab for the research points. Round the corner to your right here and there should be another Butterbur Patch; this is the one that will have your Snow White.
Congratulations, you now have your Snow White! I hope this was helpful to someone and saves people some headaches.
 Anonymous
butterbur patch ??? i did not go up there .. i just took at camp 5 and got the rare item ..

 Anonymous
this is literally the worst description i have ever read. first of all it's way too difficult and secondly, it's wrong. you dont need any items at all and simply have to use a few wedge beetles and do a few walljumps in a hidden area

 Anonymous
 Anonymous
You don't need Insect Glaive or Glide Mantle. Just climb using the Wedge Beetles all the way up. On Youtube there are is video, 1:05 of duration, showing what you have to do.

 Anonymous
Don’t even bother with the methods on this page. Tried the glider mantle and wall jump for 30 frustrating minutes and got nowhere. Used the Insect Glaive method someone described 2 comments below and did it in 30 seconds. I’d never used IG before but the controls are super easy. Facing the jumpable wall, R2 + X to vault into the air, forward on the left stick to jab the glaive into the wall, then forward + X to jump up.

 Anonymous
Hi all,
Is there any condition (like weather, day or night) for Flourishing Butterbur spawn or it spawn randomly?
 Anonymous
I just discovered a substantially easier alternative. You can cheese the part with the snowy ledge where you could do double wall jump stuff by using the insect glaive. Normally when you use the insect glaive jump, you can do a thing where you jam the spear into the wall or other climbable ledge and can jump up that way. This does work with the "wall jump" surface. So just use the insect glaive jump (right trigger + A on xbox controller) towards the riveted wall climb surface, then you will latch on and can just jump straight up it with A. Can do the next ledge the exact same way. Then you just have to run into the geyser to get the last bit up. Super easy, no fuss about it.

 Anonymous
Worth mentioning that when you're trying to do the wall jump section, you simply sprint up the first wall and let your character autojump. From that wall, press circle (PS4) or B (XBOX) to leap off the second wall, where you'll actually be able to grab the climbable wall. Very fussy but when you get it once, you've got it.

 Anonymous
It's WAY easier without the glider mantle. Just stand on the geyser facing the ledge and once the big burst comes you'll land straight on it. Glider attempts: 20+ No glider attempts: 1.

 Anonymous
thanks for the alternate route, however, just spent 30 minutes jumping back and forth, I can barely get on the ice, but then my douchebag character just falls straight down if I try to get onto the ledge above. This crap is obnoxious as hell, not fun in any way shape or form, and annoying all just for a stupid ingredient

 Anonymous
sigh. 40 attempts, nothing I do lets me grab onto that stupid ass last beetle, instead, the clutch claw fires out and hits the air. Once again, the idiot who designed this needs to be beaten.


Goodness gracious, the parkour part is much harder than facing two furious rajang together...
3
+10
-1